
How to draw a border using a stencil
Content
Step 1: Install the stencil
Step 2: Draw the pattern
Step 3: Remove the stencil
Step 1: Install the stencil
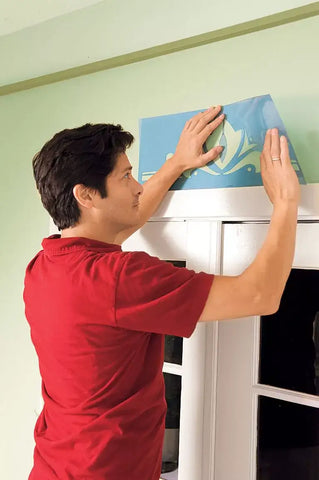
Keeping the stencil away from the wall, line up its center line with the one you marked. Working from the center outwards, press the stencil into place. Use a plastic putty knife to smooth it out, this will remove any air bubbles and prevent the paint underneath from bleeding out.
Step 2: Draw the pattern

Apply with a brush to the exposed areas of the stencil using a light touch. Avoid adding strokes to the ends of the stencil where the pattern will continue, as this may create a visible over-painted seam. Continue painting until the pattern is filled in but the color of the wall underneath is still visible. Avoid moving back and forth while painting, which can leave brush marks and cause paint to bleed under the stencil.
Tip: If you prefer full paint coverage rather than a stippled look, apply the paint in thin layers rather than applying one thick coat.
Step 3: Remove the stencil
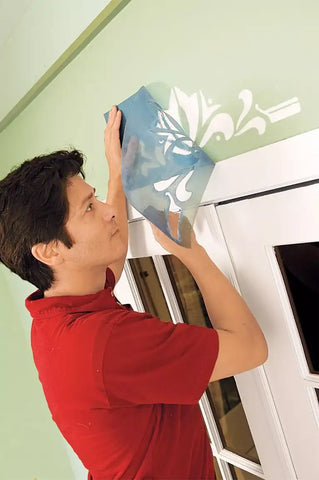
When you're done, gently pull the corner of the stencil and remove it from the wall at a sharp angle.
